

If you wish to uncover Playtime’s darkest secrets and techniques, be taught what occurred to the most recent additions in Poppy Playtime: Chapter 4, and indulge on this mascot horror’s newest lore—then it’s essential discover each observe this installment has to supply.
Right here’s the place to search out all Notes in Poppy Playtime: Chapter 4. To make your life and collectible searching a bit of simpler, this record is proven in chronological order and can present which goal is proven on the time of gathering every observe.
You may load into any auto-save to select up the observe akin to its goal with out overwriting your present save. However you can not insert energy cells or tablets to unlock doorways on a reloaded auto-save.
This information is a piece in progress.
Poppy Playtime: Chapter 4 – All Notice areas
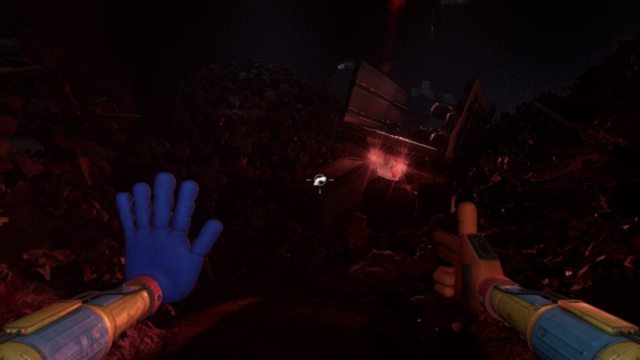
Warning: Purple Smoke

Goal: Examine the Management Room.
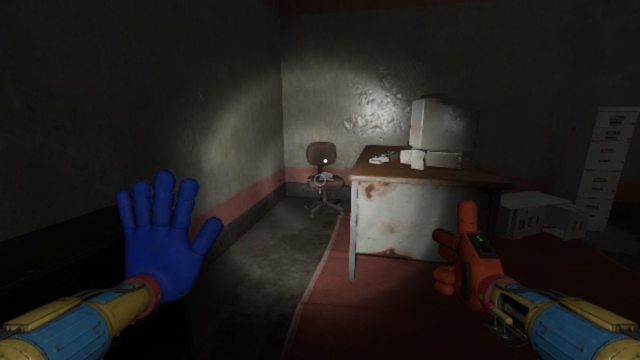
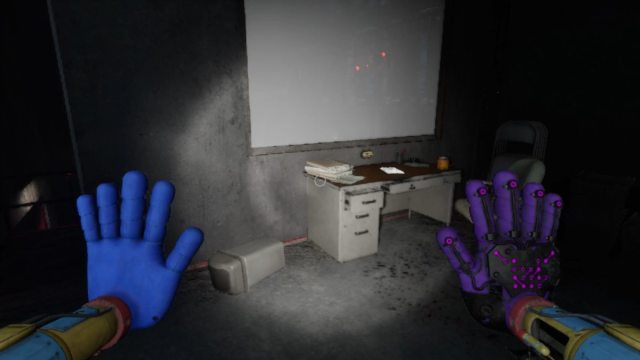
After unlocking the very first door on this chapter with the blue Seize-Pack hand, go into the primary room on the left (the Foreman’s Workplace) on this lengthy, slim hall. You’ll discover the primary observe on the desk with the phrases “their merciless kingdom” written in blood on the wall subsequent to it.
Riley Journal: Entry #1
Goal: Discover one other approach into the Jail.
As quickly as you enter the Toy Graveyard head to the second set of lights alongside the linear path. This observe is on high of the barrel, beneath a set of 4 round lights the place just one works.
Riley Journal: Entry #2

Goal: Discover one other approach into the Jail.
Proceed strolling by the Toy Graveyard after choosing up Riley’s first journal entry. Transfer onto the subsequent flickering mild the place the observe is on high of one other barrel.
Riley Journal: Entry #3
Goal: Discover one other approach into the Jail.
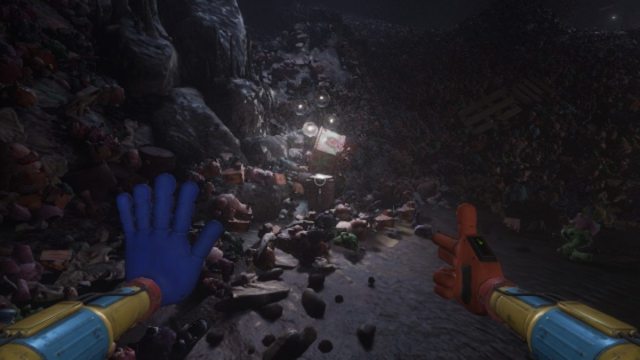
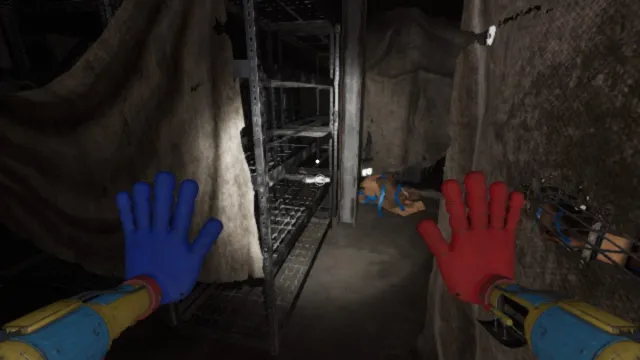
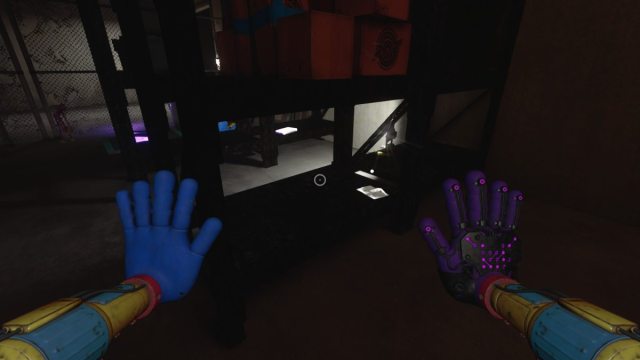
If you get to the opening within the Toy Graveyard, the realm will mild up. Hug the right-hand facet to keep away from activating the Mini Huggies and Critters. Transfer throughout to the small path reverse the Jail entrance. You’ll discover the observe beneath the again of a truck.
Riley Journal: Entry #4

Goal: Discover one other approach into the Jail.
Standing on the heart of the clearing causes the large flood lights on the Jail entrance to activate. Be fast right here as Mini Huggies and Nightmare Critters are about to ambush you. Stroll to the left of the yellow tarpaulin on the bottom to search out the observe on a picket pallet.
Riley Journal: Entry #5
Goal: Discover one other approach into the Jail.
This observe is on the useless conductor in entrance of his workplace. You choose this up after climbing the huge pile of toys within the Loading Bay. The duty on this part is to search out the important thing to the Conductor’s Workplace and begin the prepare to enter Playtime Jail.
Weekly Checkup: 1172
Goal: Escape the Jail.
After choosing up the Omni-Hand (pink Seize-Pack) and unlocking the primary Cell Block door by inputting the code into the terminal, you go to the higher deck. Peer into the cell on the higher deck earlier than strolling by the large pink door with the alarm mild activated above it. The door to this cell is already ajar, press “E” to open it totally. The observe is inside this cell.
Cole Journal: Entry #1
Goal: Escape the Jail.
Ollie calls you whenever you exit the primary Cell Block. On this room the place it’s essential use the pink Seize-Pack to enter the second Cell Block, there’s a brief hall with two units of doorways on both facet and a door with an odd lock mechanism at its finish. Enter the room to the correct of the door with the lock mechanism to search out the observe on the workplace chair.
Weekly Checkup: 1424
Goal:
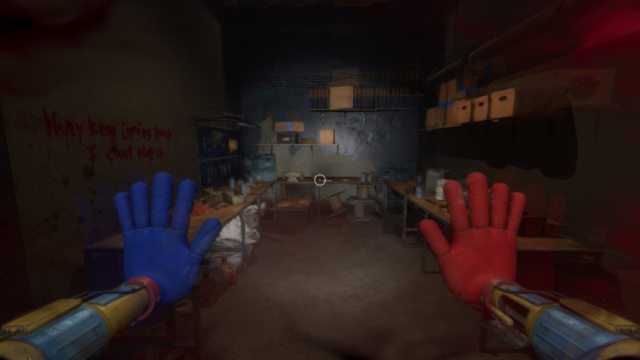
The Cell Block rapidly fills with Purple Smoke the place it’s essential discover the valve to cease the fuel. You might want to go to the room on the decrease deck, furthest away from the place you began. Verify the workshop tables instantly in entrance of this room’s entrance earlier than turning proper to select up the valve. The observe is on right here.
Prisoner Profile, Experiment 1166

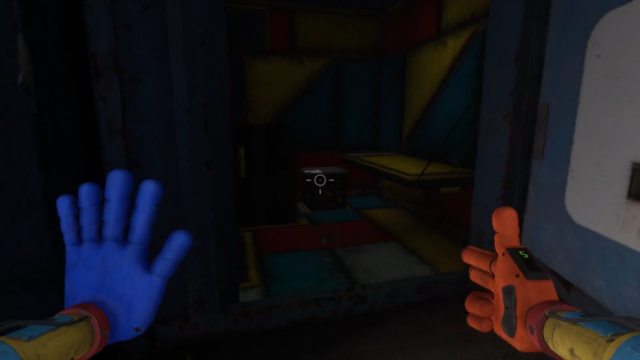
Goal: Escape the Jail.
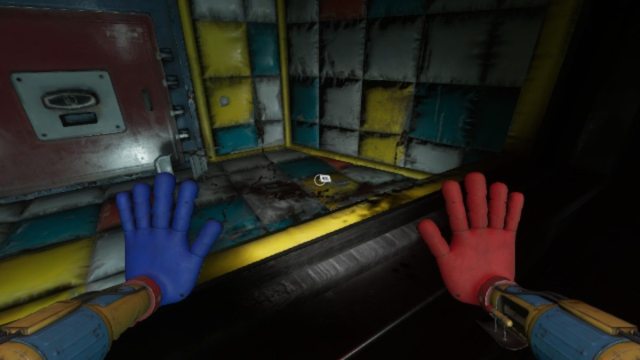
After fixing the second Cell Block puzzle to clear the Purple Smoke, you leap by the now damaged window within the Management Room. Crouch beneath the shutter the place a large field is stopping the door from closing. The observe is on the unit behind the field.
Prisoner Profile, Experiment 1163
Goal: Escape the Jail.
On this Hub-like space, enter the cell statement room marked with “6” above it. The glass on this room is damaged. Leap up and choose up Pianosaurus‘s observe from this room.
Cole Journal: Entry #2
Goal: Keep away from detection from Yarnaby.
You may choose this observe off the unit when Doey distracts Yarnaby. That is whenever you’re meant to make use of the Seize-Pack to climb into the vent. The observe is the place Yarnaby was standing earlier than Doey lures him away.
Cole Journal: Entry #3
Goal: Keep away from detection from Yarnaby.
After coming into the second vent (within the room the place you choose up The Physician tape), you comply with the linear route the place you squeeze by a good hole earlier than Yarnaby begins to chase you. The observe is on this room the place you get a small breather earlier than the brief chase sequence.
Cole Journal: Entry #4
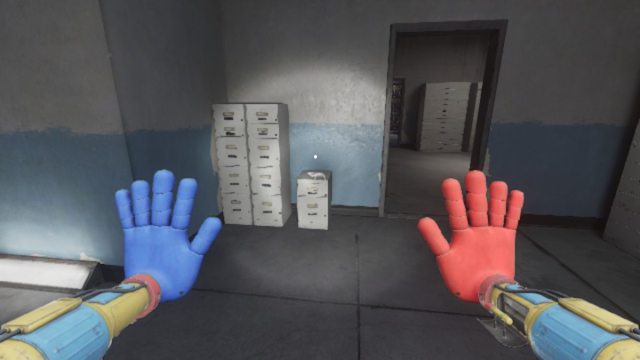
Goal: Keep away from detection from Yarnaby.
After surviving the chase sequence in opposition to Yarnaby, you enter an workplace area. Go straight after leaping down from the air flow shaft. Attain the tip of this hall and take a look at the ultimate doorway. The observe is on the submitting cupboards.
Reconnaissance Report: 12.15.04
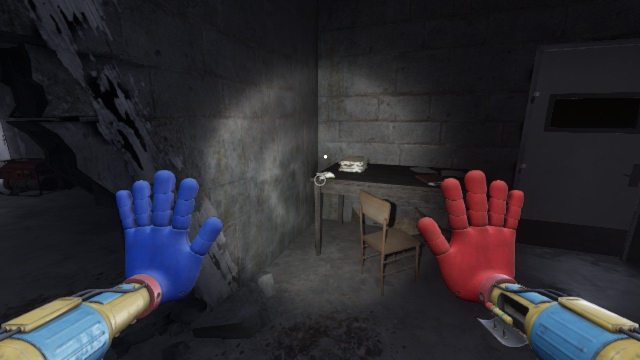
Goal: Catch as much as Doey.
You might want to catch as much as Doey after escaping the Jail Yard by discovering the three levers. Enter the primary room in your proper after strolling by the Jail Yard doorways. Now on the opposite facet of the blockage, enter the subsequent room and switch left, by the damaged wall to search out the observe on the desk on this in any other case locked room.
A Cryptic Letter
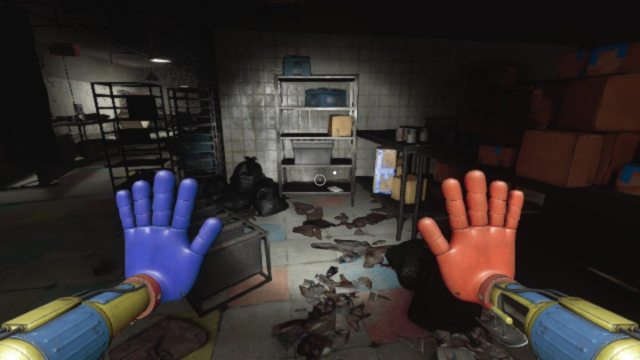
Goal: Get to Protected Haven.
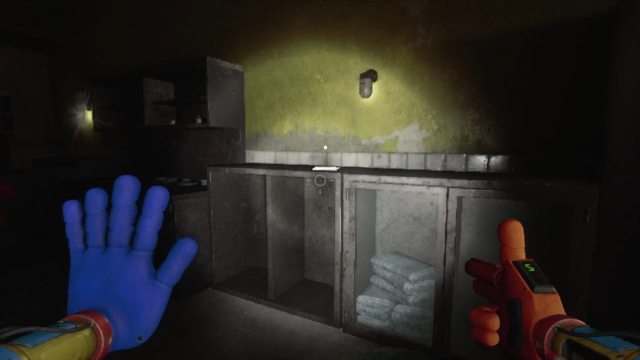
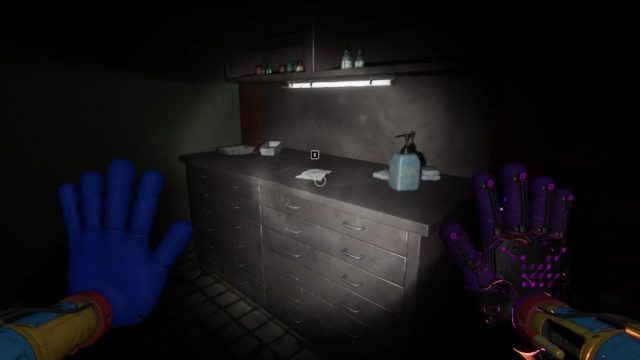
If you depart Doey and enter the kitchen (proper earlier than coming into Protected Haven), you crouch beneath a knocked-over unit. Flip proper instantly to search out the observe on the backside of a metallic unit, close to a pile of trash luggage. That is across the nook from the massive, chained fridge it’s essential transfer by attaching a series and discovering its corresponding lever to maneuver it.
Challenge Overview: Protected Haven
Goal: Discover and defeat The Physician.
Enter the Infirmary whenever you arrive at Protected Haven. Yow will discover the observe on the right-hand facet of this lengthy room, between DayDog’s cut-out and an actual (small model) of DayDog.
Topic 1322C Report
Goal: Discover and defeat The Physician.
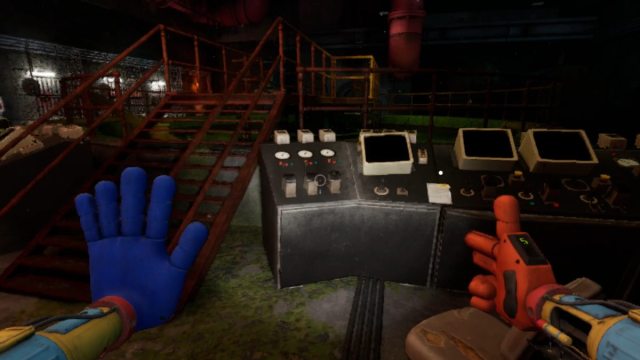
After listening to Poppy and Doey within the Sewers, you employ an elevator to ascend into a big room with a mixer at its heart. Exit the walkway above the mixer and switch left, wanting on the management panel. The observe is on right here. This is identical room you choose up a tape about Experiment 1322.
Reconnaissance Report: 01.10.05

Goal: Discover and defeat The Physician.
Within the massive room the place it’s essential activate the 2 pylons through the use of the prepare tracks, flip left as quickly as you enter this space. The observe is on the bottom, beneath a makeshift tent, near the doorway.
Propaganda Flier

Goal: Discover a approach out of No Man’s Land.
From the Exit door in No Man’s Land, head down the slope after activating the ramp. Flip proper, away from the terminal that wants a keycard to work. Enter the room the place the cable loops round a flight of stairs. There’s a small hole you may squeeze by, indicated by the white pull marks on the bottom. Undergo so that you’re on the opposite facet of a shutter. The observe is on high of a container, subsequent to a flood mild.
Secondary Lab Directions
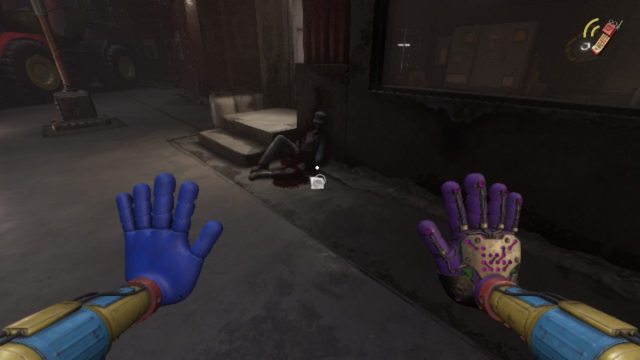
Goal: Make your approach to The Physician.
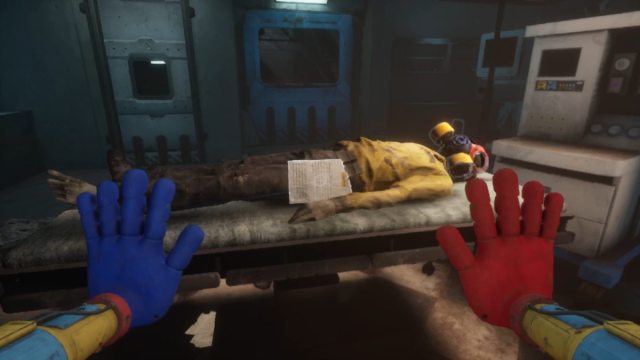
As quickly as you enter the Secondary Labs, you may choose this observe up off the corpse on the working desk.
Secondary Lab Mission Assertion
Goal: Make your approach to The Physician.
You might want to find the PJ Pug-A-Pillar physique inside an Working Room. Use the Seize-Pack to enter a close-by air flow shaft to succeed in PJ. On the higher degree of this room, test the round seating space to search out the observe on step one.
Younger Geniuses Program Removing Letter
Goal: Confront The Physician.
You might want to discover Harley Sawyer’s keycard in his area (the place the safety bots patrol) to unlock the room above The Physician’s head. This locked room is atop the staircase the place you choose up the Omni-Instrument and kill The Physician. The observe is on the left-hand facet of this locked room.
An Untitled Poem
Goal: Return to Protected Haven.
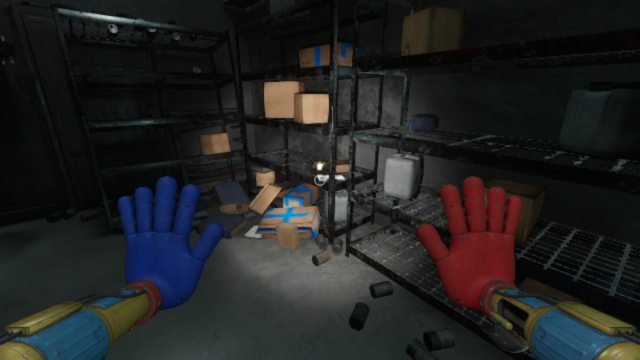
If you return to Protected Haven you doubtless seen you’re in a brand new space. Go into the small part enclosed by a wire fence. Use the Electrical Seize-Pack hand (purple) to leap onto the higher platform. Go the Mommy Lengthy Legs toy on the walkway and drop down. Find the Boxy-Boo toys and search the 2 aisles close to it for a purple tape and the observe on the items.
Basis Operator Notice
Goal: Discover and plant (4) explosives.
You’re tasked to collect and plant (4) explosives whenever you enter the Basis. Make your approach into the tank storage room and enter the workplace that’s atop the damaged pink staircase. Use the 2 packing containers close by to climb up. You’ll discover a Bubba Bubbaphant cut-out and the observe on the desk inside this room.


